01
Texture and grain size
Look for glassy, fine-grained, coarse-grained, crystalline, fragmental, or clastic texture and whether grains are visible, rounded, interlocking, sorted, or cemented.
Practical guide
Several clear photos can help you form a possible rock, mineral, crystal, gem, or fossil match by comparing visible texture, grain size, structure, and context. A photo cannot confirm chemical composition, treatment, origin, authenticity, safety, or value, so use the result as a hypothesis to test.
iPhone · Up to four photos and optional find context
What to look for
Color is memorable but often variable. A stronger candidate explains the specimen’s texture, grains or crystals, structure, and geologic setting together.
Look for glassy, fine-grained, coarse-grained, crystalline, fragmental, or clastic texture and whether grains are visible, rounded, interlocking, sorted, or cemented.
Record distinct crystals, color zones, metallic or nonmetallic luster, transparency, streak already visible on the specimen, and whether color changes across fresh and weathered surfaces.
Compare layering, banding, foliation, vesicles, fossils, crystal faces, cleavage-like planes, fracture, inclusions, and the overall shape without breaking the specimen.
Note a broad locality, outcrop or loose find, surrounding rock, landscape, and any reliable map unit. Do not remove material where collecting is prohibited or expose a sensitive site.
Step by step
Use bright indirect light, a plain background, and a neutral scale reference. Include the whole specimen, a fresh-looking surface if one already exists, close-ups of grains or crystals, and up to four angles without filters or digital zoom.
Record texture, approximate grain size, layering, vesicles, luster, visible crystals, fossils, fracture, weathering, and where it was found. Color alone is rarely enough, and a photo cannot measure hardness, streak, density, magnetism, or chemistry.
Ask whether the proposed match explains every visible clue and the geologic context. Compare likely alternatives, distinguish a rock from a mineral or manufactured material, and use authoritative maps and collection references.
Do not cut, grind, drill, polish, burn, taste, or use chemicals on an unknown specimen just to validate an app result. Dust-producing work on rock can create respirable crystalline silica and requires appropriate professional controls.
Use a qualified geologist, mineralogist, gemologist, museum specialist, or laboratory when the answer affects authenticity, treatment, origin, meteorite status, hazardous material, sale, insurance, or value.
Inside the app
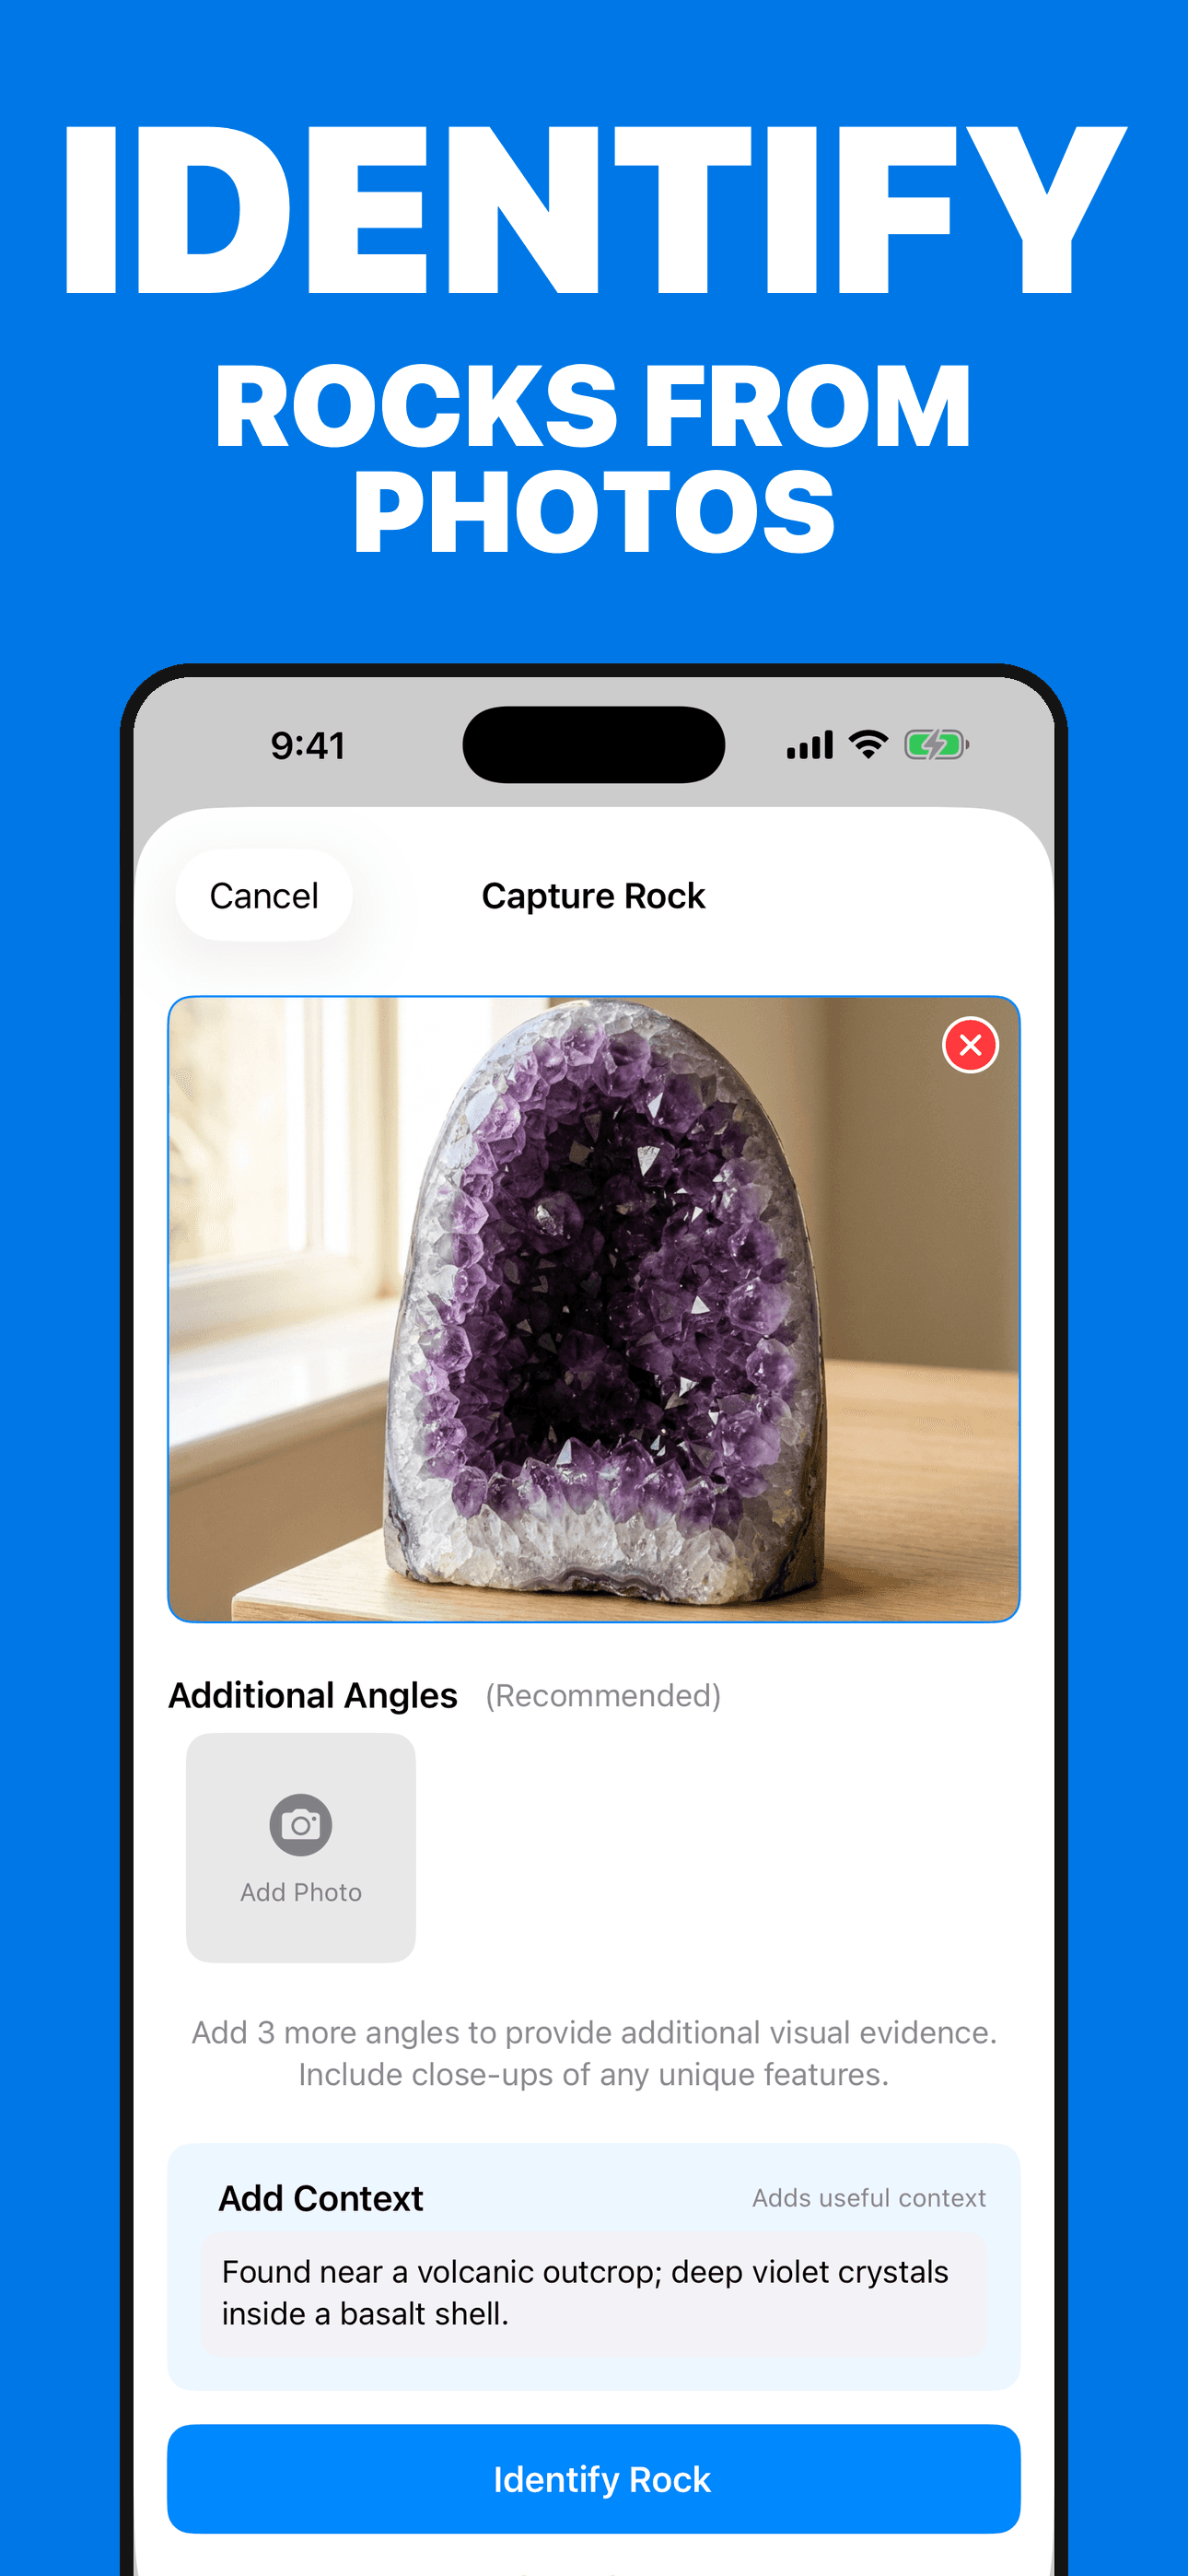
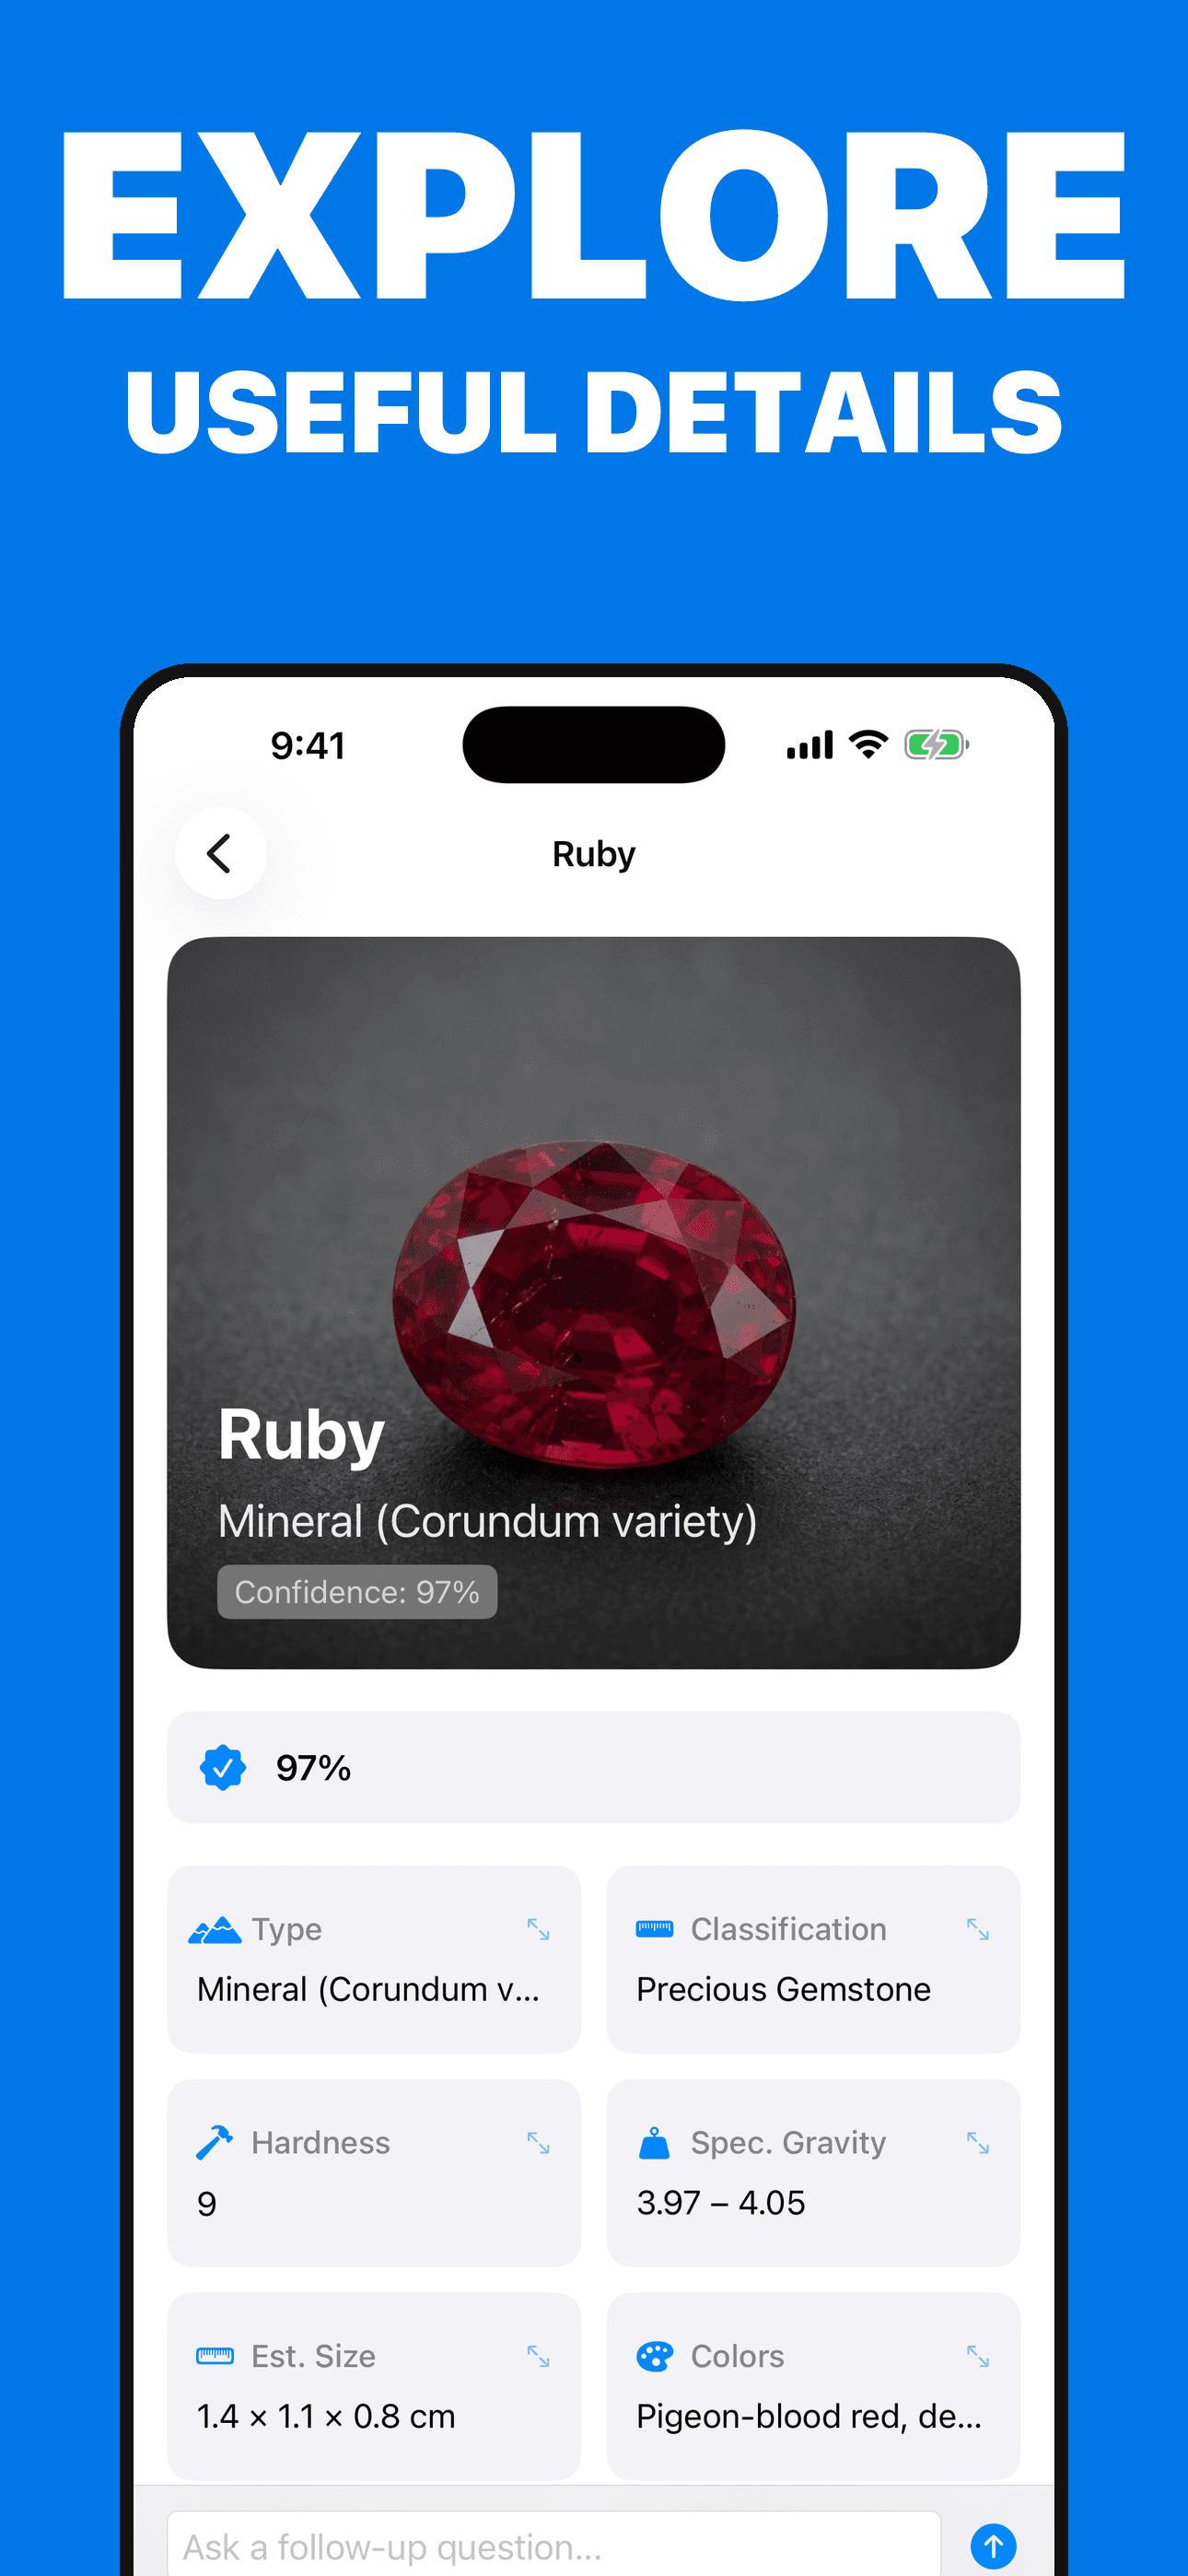
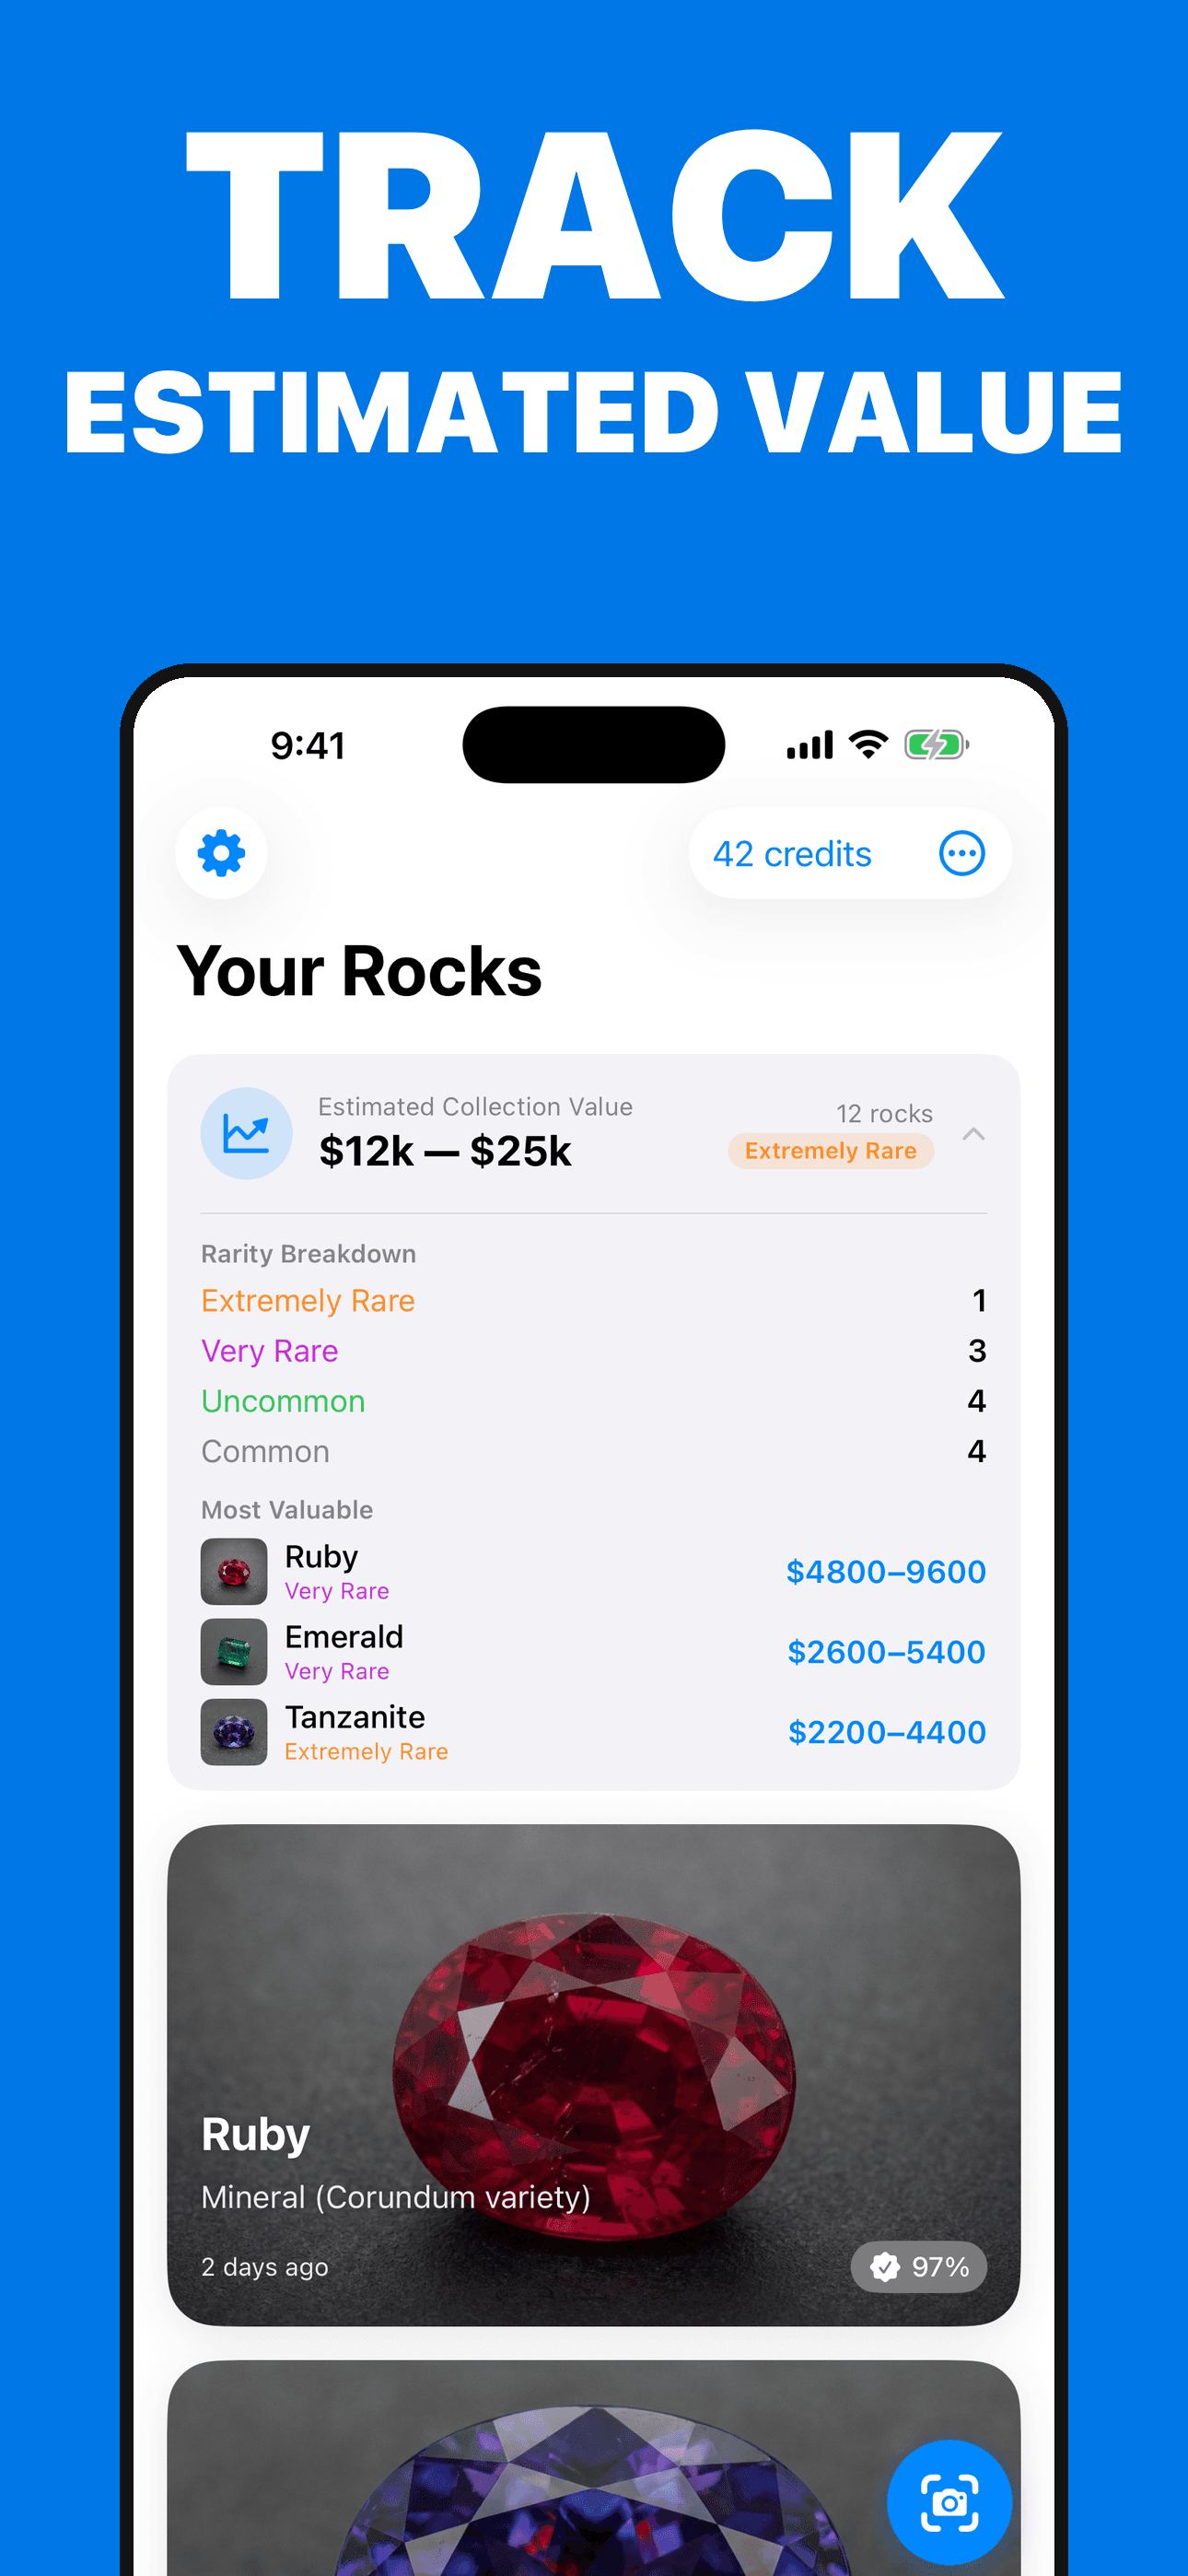
These are actual Rock Identifier screens. The app organizes a possible match, physical and geological context, follow-up questions, and illustrative estimates; it does not authenticate a specimen, measure its properties, certify safety, or provide a professional appraisal.
Try the app
Rock Identifier accepts up to four selected photos and optional find context, then suggests a possible specimen, organizes reference details and follow-up questions, and saves results in a private collection. Keep expert examination and laboratory testing separate when the answer matters.
Primary references
These references support the classification, mapping, collection, and silica-dust boundaries in this guide. They do not endorse Rock Identifier; U.S. maps do not cover every country.
Direct answers
Use several clear photos and compare texture, grain size, visible minerals, luster, layering, vesicles, fossils, fracture, weathering, and geologic context. Treat the suggested name as a candidate and compare it with authoritative maps, collection records, and plausible alternatives.
Include the whole specimen, multiple angles, a neutral scale reference, and close-ups of grains, crystals, layers, fossils, vesicles, fracture, and any naturally exposed fresh-looking surface. Use bright indirect light and avoid filters, heavy shadows, digital zoom, and an artificial wet shine.
Not reliably in every case. Photos do not measure hardness, streak, density, magnetism, optical properties, or chemistry, and many specimens share a similar appearance. Direct examination or laboratory analysis may be needed.
No. A photo cannot confirm gemstone authenticity, treatment, origin, professional grade, or meteorite status. Use an independent gemologist, geologist, meteorite specialist, or qualified laboratory for confirmation.
No. Any range is an illustrative estimate, not an appraisal or guaranteed sale price. Identity, authenticity, treatment, size, weight, quality, condition, provenance, laboratory reports, venue, fees, and current demand can all change value.
Do not start dust-producing or destructive work based on an app result. Cutting, grinding, drilling, and polishing rock can create respirable crystalline silica, and an unknown specimen may present other hazards. Use appropriate professional identification, controls, and local guidance.